
Discover how to turn a photo into an illustration with AI-powered tips
Learn how to turn a photo into an illustration with practical AI tips, style ideas, and real-world examples to create eye-catching artwork.
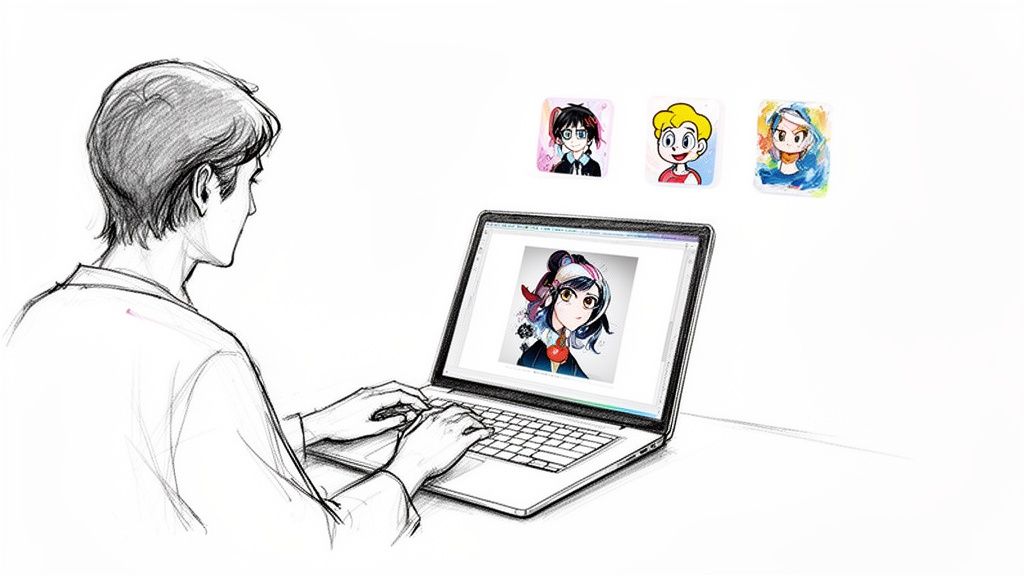
Ever wondered how people get those cool, artistic versions of their photos that look like they're straight out of a comic book or an animated movie? It's easier than you think. With the right AI tools, you can turn a photo into an illustration—whether you're aiming for anime, a classic cartoon, or even a Pixar-style look—with just a few clicks. The process is pretty straightforward: you upload a good-quality photo, pick an artistic style you love, and let the software work its magic to create a totally new piece of art.
Why Turn a Photo Into an Illustration
Taking a regular photograph and giving it an illustrative spin opens up so many creative doors. It's a brilliant way to add a fresh twist to your favorite memories, build a unique social media identity, or even craft eye-catching visuals for your business. This is way more than just slapping on a filter; it’s about completely reimagining your image through a new artistic lens.
This isn't just a niche trend, either. It’s backed by some serious muscle in creative tech. The market for AI-powered image editing was valued at a massive USD 88.7 billion in 2025 and is expected to skyrocket to USD 229.6 billion by 2035. That explosive growth tells you just how much these tools are becoming a go-to for creators everywhere. For a deeper dive, you can explore more data on AI's impact on image generation to see just how big this shift is.
The Creative Edge of Illustrated Photos
So, why go for an illustration instead of just using the original photo? Simple. Illustrations have a certain charm that can capture personality and emotion in a way that photos sometimes can't quite nail. A cartoon version of your family photo feels instantly more playful for a holiday card, while an anime-style portrait can give off a dynamic, almost heroic vibe.
The real magic happens when you find the perfect style that matches your photo's story. An illustration can turn a simple selfie into a striking avatar or a pet photo into a heartwarming piece of art that feels straight out of an animated movie.
What's really incredible is that this process gives you access to artistic styles that used to take a skilled illustrator hours, if not days, to create. Now, anyone can get that polished look in minutes. This opens up a ton of possibilities:
- Stand Out Online: Create custom avatars, profile pictures, and banners that are instantly recognizable and break free from the sea of standard headshots.
- Design Personalized Gifts: Turn a favorite memory into a one-of-a-kind present for a birthday, anniversary, or any special occasion. It’s a guaranteed hit.
- Build a Stronger Brand: Develop a friendly and approachable brand mascot from a simple photo, helping your business feel more personal and connect with customers.
Ultimately, to turn a photo into an illustration is to unlock a new way to express yourself and tell a story. It’s about taking something real, adding a layer of imagination, and ending up with something completely new and exciting.
Prepping Your Photo for the Best Illustration Results
The final illustration is only as good as the photo you start with. It's a classic "garbage in, garbage out" situation. When you ask an AI to turn a photo into an illustration, you're really asking it to interpret all the data in your image—the light, shadows, shapes, and colors. Giving it a clean, clear starting point is the single most important thing you can do.
A fuzzy, poorly lit photo will almost always give you a muddy, distorted illustration. The AI struggles to figure out where one thing ends and another begins, which often leads to weird-looking art that barely resembles your subject. A sharp, well-composed image, on the other hand, is the perfect canvas for a stunning transformation.
Start with a High-Quality Image
Let's talk about the most critical factor: resolution. A high-resolution photo is packed with more pixel data, and that extra information gives the AI a lot more to work with. You don't need a fancy DSLR for this; most modern smartphone cameras are more than good enough to capture the detail you need.
Make sure your photos are clear and in focus, especially on the main subject. If you're working on a portrait, the eyes and facial features need to be sharp. For a picture of your dog, make sure their face is the clear focal point. If you want to see how AI handles fur and animal features, our guide on creating amazing cartoon versions of your pets is a great place to start.
Here’s what to look for in a great source photo:
- Sharp Focus: The main subject must be crisp. Blurry shots are a no-go, as the AI can't just invent details that were never there.
- Good Resolution: Always use the original, full-size image. Photos you've saved from social media are usually compressed to death and have lost a ton of quality.
- Clear Subject: Make sure the person, pet, or object you want to illustrate is the undeniable star of the show.
Master the Lighting and Background
Good lighting is your secret weapon. Even, soft light illuminates your subject’s features, creating natural highlights and shadows that the AI can easily translate into an illustrative style. Harsh shadows, like the kind you get from direct overhead sunlight, often create dark, confusing patches that the AI just doesn't know what to do with.
A busy background can be just as problematic. A cluttered room with tons of competing shapes and colors can cause the AI to accidentally blend your subject right into the scenery. A simple, clean background helps the main subject pop, ensuring the AI focuses its energy right where it should.
A simple trick I love is using a photo where the background is naturally blurry (that 'bokeh' effect). This immediately tells the AI what to prioritize, leading to a much cleaner and more professional-looking illustration every single time.
Quick Edits to Make Before You Convert
You don't need to be a Photoshop pro to get your image ready. A few minor tweaks can make a world of difference in the final result. Before you upload your photo, consider these quick adjustments in any basic photo editor:
- Crop it: Frame your subject well. If the original photo has tons of empty space or distracting things on the edges, just crop in closer. For a portrait, a classic head-and-shoulders crop is usually perfect.
- Boost the Contrast: Bumping up the contrast just a little bit can really help define the edges and features of your subject. This makes it way easier for the AI to see the difference between light and dark areas, which is key for creating line work and shading.
- Adjust the Brightness: If your photo is a bit dark or washed out, play with the brightness until you find a good balance. You're aiming for a balanced exposure where you can see details in both the highlights and the shadows.
Taking just a couple of minutes to pick the right photo and make these small edits will pay off big time. It’s what separates a "meh" conversion from a truly impressive piece of art you’ll be excited to share.
Choosing the Perfect Artistic Style for Your Image
Alright, you’ve prepped your photo and it’s looking sharp. Now for the fun part: picking an artistic style. This is where you really get to put your creative stamp on things. Think of it like walking into a massive art supply store—the possibilities are endless, and the style you choose will completely shape the feeling of your final illustration.
It’s not just about what looks cool, though. The trick is to match the artistic style to your photo’s original vibe and where you plan to use it. A bubbly, classic cartoon look might be perfect for a kid's birthday party invite, but you'd probably want something more sophisticated for a formal portrait you plan on framing.
Getting the fundamentals right before you even pick a style is key. Good ingredients make for a better final dish.

As you can see, locking in these three things—a quality source image, a clear subject, and decent lighting—gives the AI everything it needs to work its magic.
A Quick Tour of Popular Illustration Styles
Every style tells a completely different story. To help you find the right fit, let's break down some of the most popular choices you'll run into.
- Classic American Cartoon: Imagine bold outlines, bright and punchy colors, and delightfully exaggerated expressions. This style is fantastic for creating friendly, approachable characters. It's a go-to for brand mascots or lighthearted family pictures. You can check out some great examples in this classic cartoon styles collection.
- Anime and Manga: This one is all about drama and energy. It’s defined by those large, expressive eyes, dynamic action lines, and striking shadows. It's the perfect choice for action shots or any portrait where you really want to dial up the emotion.
- 3D Animation (Pixar-esque): With its soft lighting, rounded features, and incredible sense of depth, this style is pure charm. It’s absolutely brilliant for turning photos of family, kids, and pets into heartwarming scenes that look like they jumped right off the silver screen.
- Ghibli-Inspired: If you love soft, painterly backgrounds and gentle, soulful characters, this is your style. It brings a sense of handcrafted beauty and nostalgia, making it wonderful for landscapes or portraits that need a touch of wonder.
Matching Style to Subject and Purpose
Your photo’s subject is the best clue you have. A shot of your dog frantically chasing a frisbee has a totally different energy than a serene wedding photo, right? The style needs to match that. The dog’s motion would be perfectly captured with a dynamic anime look, while the wedding couple would be better served by something softer and more elegant.
Also, think about where the final image will live.
The goal is to create a perfect marriage between the photo's content and the illustration's style. When you nail this, the artwork feels intentional and impactful, not just like you slapped a random filter on it.
Your audience matters, too. If you’re making a new avatar for your LinkedIn profile, a clean and modern cartoon look is probably a better bet than a wild anime design. But if you’re creating graphics for your Twitch channel? That same anime style would be absolutely perfect.
It’s an exciting time to be creating, as audiences are more than ready for this kind of art. The AI image generator market was valued at USD 3.16 billion in 2025 and is expected to climb to USD 30.02 billion by 2033. With 71% of people saying AI-generated images are already common on social media, there's a clear appetite for this new wave of creativity.
Don't Be Afraid to Experiment
Honestly, the best way to find your perfect style is just to play around. Don't be afraid to experiment! Take one great photo and run it through three or four different styles that catch your eye. You might be completely surprised by what you get back.
Sometimes, a style you’d never have considered ends up capturing the essence of your photo in a way that just clicks. This little bit of trial and error is all part of the creative process.
As you explore, keep these tips in mind:
- Do a side-by-side comparison. Generate the same image in a few different styles to see how they stack up.
- Look at the details. Notice how each style handles important features like eyes, hair, and the texture of clothing.
- Trust your gut. At the end of the day, the "best" style is the one that you connect with. Pick the one that makes you smile.
Let's Make Your First Illustration: A Friendly Walkthrough
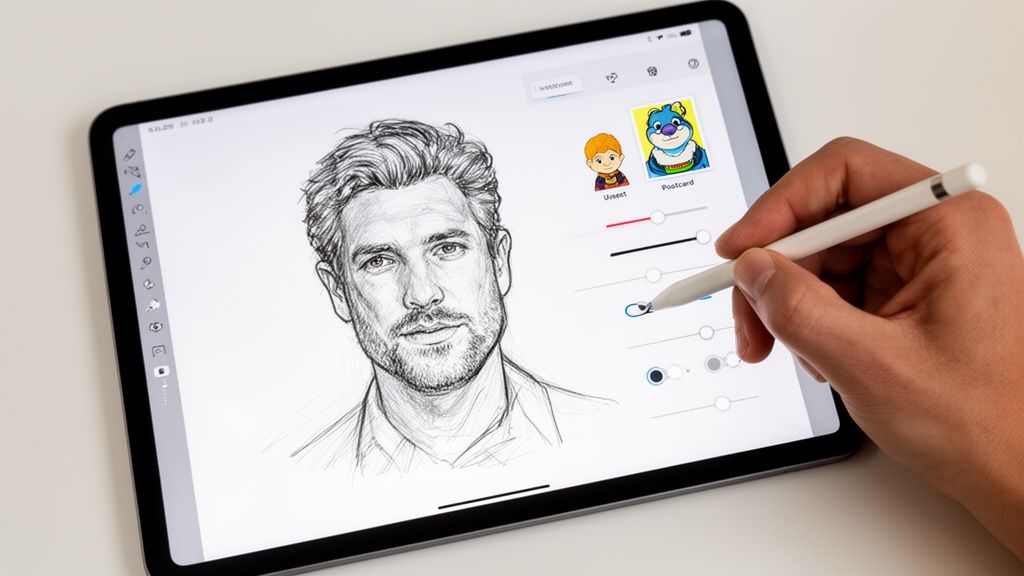
Alright, you’ve got your photo prepped and a style picked out. Now for the fun part! This is where we actually turn that picture into a piece of art, and trust me, it’s easier than you think. We're going to go from upload to final render together, step by step. The best part? No complicated software to learn—just a few simple clicks.
Most of the AI tools out there today are built to be incredibly straightforward. They're designed to get you from your photo to a finished illustration without any headaches. Let's dive in.
Getting Your Photo Converted
First things first, you'll need to upload your photo. Look for that big, obvious "Upload Image" button—you can't miss it. Once your picture is loaded, you'll land in the style library. This is where you’ll pick the look you decided on earlier, whether it's that cool, edgy anime vibe or a soft, charming Ghibli aesthetic.
After you've locked in your style, you’ll see a button that says something like "Generate" or "Convert." Go ahead and click it. This sends your photo and style choice off to the AI, which then works its magic. Depending on how busy the platform is, this can take anywhere from a few seconds to a minute. It's always a little exciting waiting to see what it comes up with!
Making Sense of the Settings
While many tools are simple one-click affairs, some give you a few extra knobs and dials to play with. You don't have to use them, but they're fantastic for getting the final result just right.
Here are the most common ones you'll run into:
- Style Strength: Think of this as a "how much" slider. It controls how heavily the artistic style is applied. A low setting keeps more of your original photo's details, while a high setting goes all-in on the illustration look, sometimes changing features quite a bit.
- Prompt Box: Some more advanced tools have a text box. Here, you can add a few words to guide the AI. For instance, you could upload a portrait, select the "Pixar" style, and type in a prompt like, "a friendly wizard with a glowing staff" to really influence the outcome.
- Output Resolution: You might see an option for image size. My advice? Always choose the highest resolution available. This ensures your illustration is sharp and detailed, which is crucial if you ever want to print it.
Here's a little pro-tip from my own experience: If you're using a style strength slider, try starting around the 70-80% mark. It's usually the sweet spot for creating a clear illustration that still looks like the person in the original photo.
What If You Have a Bunch of Photos?
Need to convert a whole set of images? Maybe you want matching avatars for your team or a consistent set of illustrations for a marketing campaign. This is where batch processing is a lifesaver.
Instead of doing photos one by one, you can upload an entire folder. You just pick your style and settings once, and the AI applies them to every single image. It saves a ton of time and, more importantly, guarantees all your illustrations share the exact same aesthetic.
Imagine uploading ten of your favorite family vacation photos, applying a "Classic Cartoon" style, and getting back a whole album of fun, cohesive memories. It's way more efficient than doing each one manually.
The Big Reveal: Reviewing Your Artwork
Once you hit that generate button, the AI will get to work. When it’s finished, your brand-new illustration will appear. Take a good look. Does it have the feel you were hoping for? Are the colors right?
Most tools will let you generate a few variations. If the first attempt isn't quite perfect, don't hesitate to click "reroll" or "generate again." Sometimes the AI’s second or third try is the one that really nails it. Once you’ve got an image you absolutely love, it's time to download it and move on to the final touches.
Putting the Finishing Touches on Your New Artwork
So, you've just generated your new illustration, and it looks fantastic. But the creative process doesn't have to end there. With just a few simple tweaks, you can take that great image and make it absolutely perfect for whatever you have in mind.
Think of the AI's output as an incredible first draft. Now, you get to step in as the art director. This is your chance to add those final flourishes that make the piece uniquely yours and ready for any project.
Adding That Final Layer of Polish
You don't need to be a graphic design guru to add a professional sheen to your illustration. A handful of free, user-friendly tools can help you make minor adjustments that have a massive impact.
Here are a few simple touch-ups I use all the time:
- Color and Contrast Tweaks: Sometimes, the AI's colors are just a little off from what you imagined. A quick trip to an image editor to adjust the saturation or brightness can make the colors pop just right.
- Adding Text and Overlays: Making a holiday card or a social media graphic? Adding text is a piece of cake. Just be sure to pick a font that matches the illustration's vibe for a cohesive, polished look.
- Simple Cropping: Just like with your original photo, a good crop can dramatically improve the final composition. Reframe the artwork to highlight the most important parts or to fit specific dimensions, like a square for an Instagram post.
Exporting Your Artwork The Right Way
Once you’re happy with the final look, it's time to save it. The file format you choose really matters, as it affects both image quality and file size. Getting this right is a key part of how you turn a photo into an illustration that's actually usable.
Here's a quick rundown of the two most common formats:
| File Format | Best For | Why It Works |
|---|---|---|
| JPG | Web use, social media posts, and emailing. | Creates smaller file sizes, which are perfect for fast loading times on websites. |
| PNG | Logos, graphics with text, or any image needing a transparent background. | Preserves sharp details and transparency, making it ideal for layering over other images. |
For most things you'll post online, like a new profile picture, a high-quality JPG is your best bet. But if you’ve created a brand mascot and need to place it on different colored backgrounds, save it as a PNG.
My personal rule of thumb is simple: if it needs to look crisp and blend in with other design elements, I use PNG. For everything else, a high-quality JPG is my go-to for its excellent balance of quality and size.
Inspiring Ways to Use Your Illustrated Photo
Okay, you've got a polished, perfectly exported piece of art. Now what? This is where the real fun begins, as you get to see your creation come to life.
And you're not alone. The growth of these tools has been explosive. In fact, AI image editing was the fastest-growing software category of 2024, rocketing up by a massive 441% year-over-year. The AI photo editors market hit USD 2.1 billion in 2024 and is projected to reach USD 8.9 billion by 2034, which shows just how essential this tech is becoming. You can dive deeper into these trends in this detailed industry report.
Ready for some ideas? Here are a few real-world ways to use your new creation:
- Create Unforgettable Gifts: Print a Pixar-style family portrait on a canvas for an anniversary. Or maybe put a cartoon version of your friend's dog on a coffee mug for their birthday—it's a guaranteed hit.
- Level Up Your Online Presence: Design custom Twitch emotes or a unique YouTube channel banner that truly captures your personality and helps you stand out from the crowd.
- Build a Memorable Brand: Turn a photo of a team member into a friendly brand mascot for your website, social media, and marketing materials.
- Design Custom Stationery: A charming illustration from a favorite photo makes for incredible wedding invitations, save-the-dates, or thank-you cards. A vibrant pop art style, for instance, adds a really unique flair. Check out our pop art and comic collection for some great inspiration.
Got Questions About Turning Photos Into Illustrations?
Even with the best tools, you might hit a few snags when you first start turning photos into illustrations. That’s totally normal! Part of the fun is getting a feel for how the AI "thinks" and learning how to get the results you want.
I've been doing this for a while, and a few questions pop up time and time again. Let’s walk through the most common ones so you can skip the frustration and get straight to creating awesome artwork.
Why Does My Illustration Look So... Weird?
This is, without a doubt, the number one issue people run into. Your final illustration comes out with distorted features, strange smudges, or just plain weird artifacts. 99% of the time, the problem isn't the AI—it's the source photo.
Think of it this way: AI models need clear information to work with. If you feed them a blurry, low-resolution photo with a chaotic background, the AI gets confused about what it's supposed to be looking at. That confusion is what creates those bizarre results.
The fix is simple: start with the best possible photo. Use an image that's sharp, well-lit, and high-resolution. A little trick I've found that works wonders is to use a photo where the background is simple or even slightly out of focus. This helps the AI lock onto your subject and gives you a much cleaner, more accurate illustration.
Can I Do This With Pictures of My Dog?
Of course! AI illustrators are absolutely fantastic for creating one-of-a-kind pet portraits. The process is exactly the same as it is for people.
For the best results, find a photo where your pet's face is clear and their eyes are in focus. Good lighting really helps, too, especially if it brings out the texture of their fur. It all adds up to a more detailed and expressive final piece.
Styles like 'Pixar' or 'Classic Cartoon' are amazing for pets. They have a way of capturing that goofy, lovable personality that makes for perfect social media posts, custom mugs, or even a framed print for your wall.
How Do I Keep the Style Consistent Across Multiple Pictures?
This is a big one, especially if you're creating avatars for a team or developing a brand mascot. Getting a uniform look is all about giving the AI consistent instructions every single time.
First, try to use source photos that were taken in similar conditions—same lighting, same angle, same person. Then, when you fire up the tool, you have to be precise with your settings for each and every photo.
Here are a few pointers to help you lock in that consistent look:
- Stick to One Style: Don't just pick "Anime." If there are multiple anime sub-styles, choose the exact same one every time.
- Match the Settings: If there's a "style strength" or "creativity" slider, note the value you used (e.g., 75%) and apply it to all your images.
- Generate and Curate: Make a few versions of each illustration. Then, go through and hand-pick the ones that look the most like each other to create your final set.
Some of the more advanced platforms are starting to roll out features that can "remember" a character, but for now, disciplined and consistent inputs are your best bet.
What's a Good Way to Use These Illustrations for My Business?
Illustrated photos can be a secret weapon for your marketing. They let you create unique visuals that are way more engaging than tired old stock photos. One of my favorite strategies is to create a brand mascot. You can turn a photo of a team member—or even a friendly-looking stock model—into an approachable cartoon character.
Once you have your mascot, use it everywhere:
- On your website, greeting new visitors.
- Across social media in posts, stories, and profile pictures.
- In your email newsletters to add a personal, memorable touch.
They're also perfect for creating characters for explainer videos or punchy graphics for your ad campaigns. It's an incredibly cost-effective way to build a library of custom brand assets without the hefty price tag and long lead times of hiring an illustrator for every little thing.
Ready to bring your own photos to life? With Tooncraft, you can turn any picture into a stunning cartoon or anime illustration in seconds. Explore over 50 styles and start creating your masterpiece today.